AT
AT
 BE
BE
 CZ
CZ
 DE
DE
 DK
DK
 ES
ES
 FR
FR
 IT
IT
 NL
NL
 PL
PL
 SE
SE
 SK
SK
 UK
UK
 Warranty Terms
When purchasing a turbocharger in our store, you receive a quality warranty for a period of 24 months with no mileage limit. For the warranty to be valid, all recommendations contained in the warranty card must be followed, and installation must be performed by a qualified person. Proper diagnostics, installation according to instructions, and correct operation ensure the long life of the turbocharger. Below we present the general warranty conditions, necessary diagnostics when servicing the vehicle, and installation instructions.
General Warranty Conditions
Warranty is valid only with proof of purchase. The product has a 24-month quality warranty, counting from the date of sale.
The Customer has the right to demand a price reduction or withdraw from the contract, unless the Seller immediately and without undue inconvenience to the Customer exchanges the defective product for a product free of defects or removes the defect. This limitation does not apply if the product has already been exchanged or repaired by the Guarantor, or the Guarantor has failed to exchange the product for one free of defects or failed to remove the defect.
Due to the nature and specification of the products, the warranty does not cover damage resulting from:
- unauthorised repairs, alterations, or structural changes carried out by the user or other unauthorised persons;
- mechanical, thermal, chemical damage or intentional damage to the product;
- damage resulting from non-compliance with the principles of correct operation, or using the product contrary to its intended purpose or parameters;
- goods independently selected, modified, repaired, or incorrectly installed.
The warranty does not exclude, limit, or suspend the Buyer's rights arising from the provisions on warranty for defects in sold goods. The warranty is valid provided that all recommendations contained in the warranty card are followed, installation is performed by a qualified person, and the card is signed by the owner and the person installing the component in the vehicle. In the scope of hidden material defects in the case of repair, only parts included in the repair costs are covered by the warranty - this also applies to repairs made on the basis of replacement.
In the case of an unfounded complaint, servicing the turbocharger after verification disassembly may be treated as a paid non-warranty service.
ATTENTION!
Before starting the turbocharger, remove the fault that necessitated the repair or replacement of the component. Installation and diagnostic work must be carried out at a specialist workshop.
Diagnostics:
The reason for replacement and the associated mandatory scope of activities during turbocharger installation:
1. Increased radial and axial play of the rotor (wheels rub against housings / worn bearing)
- clean the intake and exhaust system;
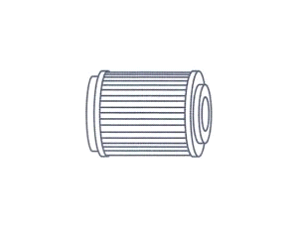
- replace the air filter element;
- clean the engine crankcase and the chamber under the valve cover;
- check the sealing of the injector seats/applies to those mounted under the valve cover;
- clean or replace the oil pump filter;
- check the condition of the oil pump along with the overflow valve;
- clean and check the condition of the oil sump - replace with a new one in case of dents;
- replace all oil supply and drainage lines and connecting bolts;
- replace the oil filter element;
- check the turbocharger condition after approximately 1000 km and during oil changes;
2. Oil leaks from the turbocharger (without increased rotor play)
- service the engine breather filter system;
- replace the air filter element and check the efficiency of the oil drain from the turbocharger;
- check the size of the blow-by of the engine piston system - eliminate possible causes;
- check and, if necessary, correct the oil level;
3. Mechanical damage by foreign material: compressor wheel, turbine wheel (rotor)
- find and remove the cause;
- clean and check the intake and exhaust systems;
- replace the air filter element;
4. Loud turbocharger operation (without increased rotor play)
- remove the leak in the intake or exhaust system.
5. Problems with correct boost operation (variable geometry problems / lack of power / entering emergency mode)
- check the components responsible for the correct actuator control;
- check the throughput of the catalytic converter / DPF/FAP particulate filter;
- check the operation of the injection system.
Upon detection of faulty turbocharger operation - in case of oil leaks or loud turbocharger operation, check the possible causes listed in points 2 and 4 of DIAGNOSTICS. Upon detection of a faulty turbocharger, its operation must be stopped and the Seller must be contacted before disassembly.
Following the Guarantor's decision to remove the turbocharger from the vehicle, the complaint will be processed immediately upon delivery of the turbocharger to its headquarters or point of sale, no later than within 14 days.
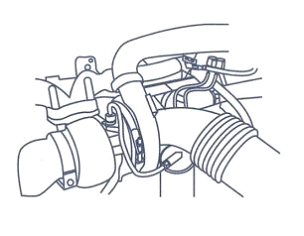
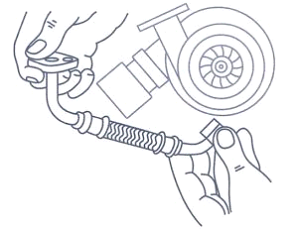
Turbocharger Installation Instructions
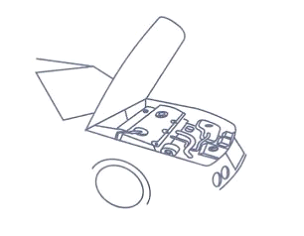
1. Check the air intake system, along with the manifold, for cleanliness and foreign objects, and ensure the pipes are undamaged. Replace filters.
2. Check:
- if the oil supply and drain lines are clean, without kinks, and without external or internal cracks,
- if the lines are clear and free of carbon and sediment inside,
- if the oil supply line is not too close to a heat source and if the heat shield is not thermally or mechanically damaged.
Clean or replace the lines with new ones if necessary. In the case of flexible lines, check if they are undamaged inside.
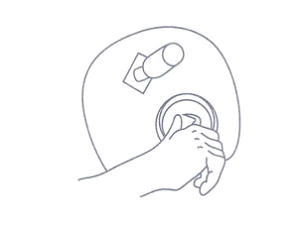
3. Change the oil and filter, observing the vehicle manufacturer's recommendations.
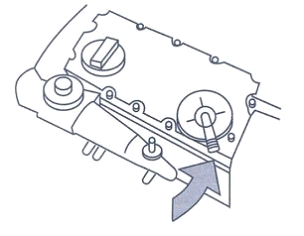
4. Check the engine breather system - it must be clean and operational.
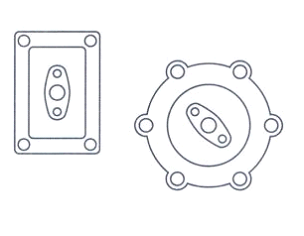
5. Remove damaged gaskets and use new ones for installation (blow-by can cause loud turbocharger operation). DO NOT USE SILICONE FOR GASKET INSTALLATION
6. Check the condition of the exhaust manifold (mating surfaces, contamination, cracks) and mounting bolts.
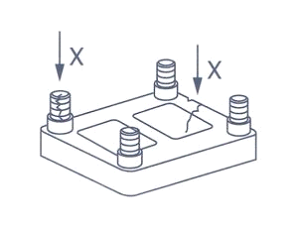
7. Adjust the housing settings. Ensure all gaskets are in the correct place and tighten all fixings to the correct torque.
8. Using screws of the appropriate specification, resistant to high temperature, attach the turbocharger to the manifold or engine block. Ensure that the installation is performed without creating stress on the turbocharger and connected lines. Tighten all bolts and nuts observing the torque values given in the vehicle instructions.
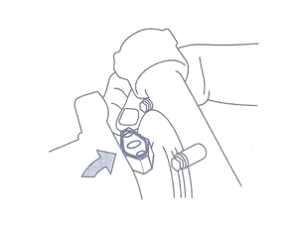
9. Connect the oil drain line and fill the oil filler opening with clean engine oil, while slowly rotating the rotor by hand.
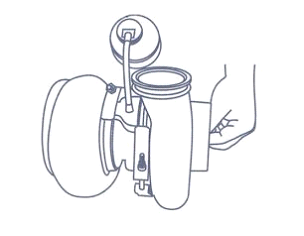
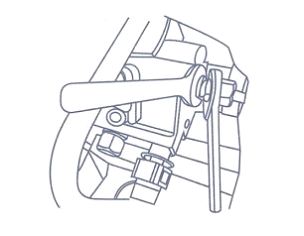
10. Connect the remaining components to the turbocharger.
11. If possible, crank the engine shaft for 10-15 sec. without starting it, or start the engine for a few seconds, to fully prime the lines and the turbocharger itself with oil and bleed them.
12. Start the engine and leave it idling without increasing the revolutions.
13. Check that all installation connections (air, oil, exhaust gas) are tight and free of leaks and blow-by.
14. Stop the engine and check the oil level again.

All other regulations can be found in: